
Related lists as tables
Show any related list of the record, like an opportunity's contact roles, as a table: drag it onto the page, pick its columns and how it looks, and preview it with real rows.
7 sections · 8 screenshots
A related list table has one row for each related record, filled from Salesforce when the document is created: the people on an opportunity, a quote's documents, a custom object's sites. You build it once in the template by dragging, and every document gets the rows from its own record. The examples use an opportunity's Contact Roles.
Find the related list
- Open the template in the editor. In the Salesforce tab on the right, check Used for is the object you send from, for example Opportunity or Quote.
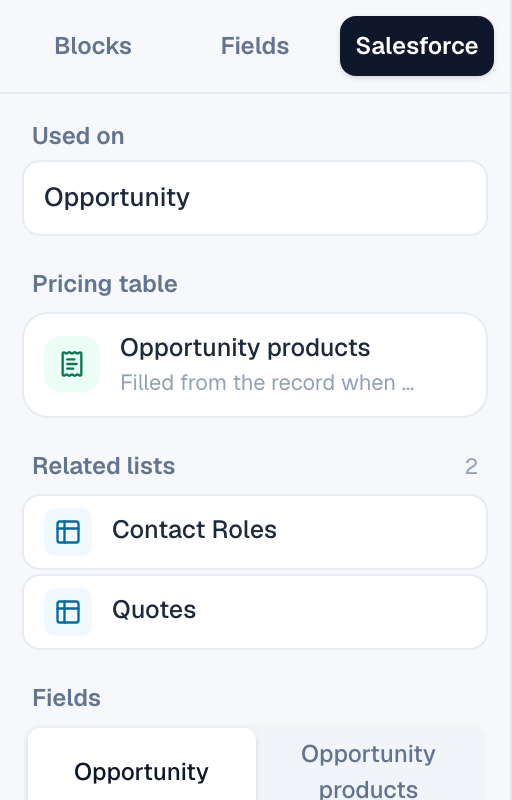
- Open the Salesforce tab on the left. Used on shows the same object.
- Look under Related lists. The lists on the object's page layout come first, with the number of lists next to the heading.
- If the list you want isn't shown, type in Search related lists or choose View all to see every related list of the object.
Drag it onto the page
- Drag the list, for example Contact Roles, onto the page. A blue line shows where the table will go.
- Let go. The table appears with the columns the list shows in Salesforce and two sample rows.
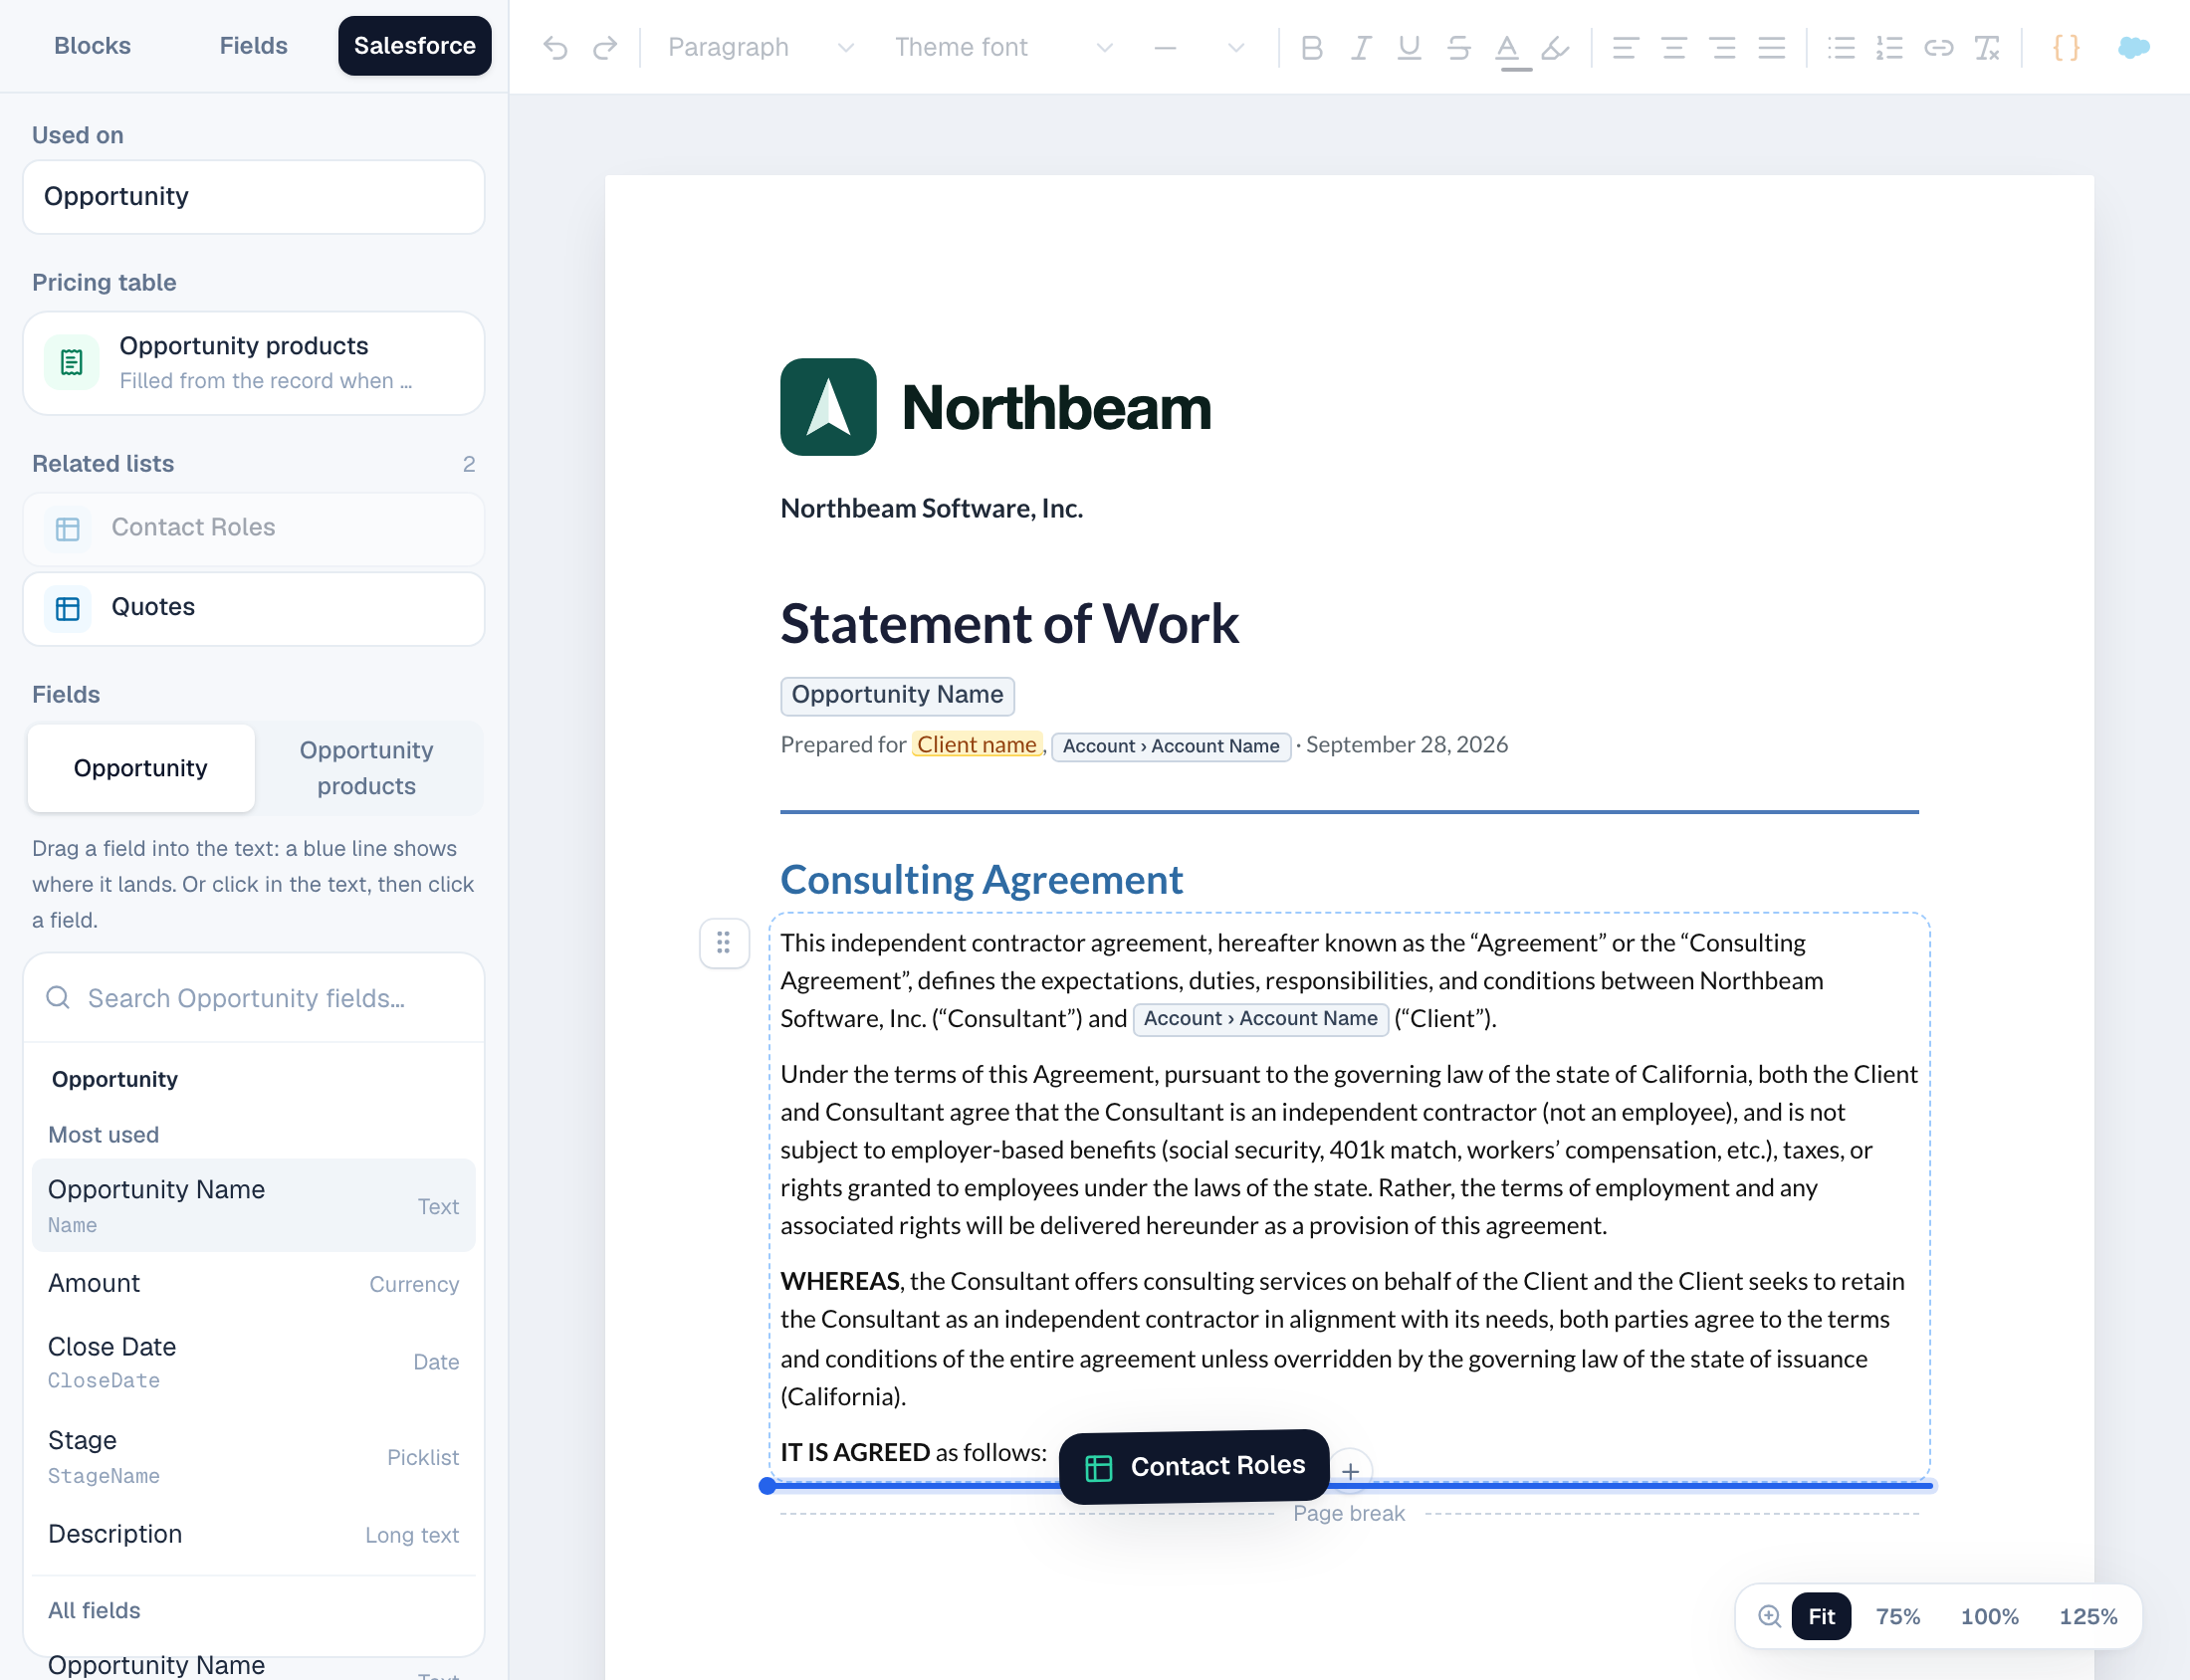
You can also click the list instead of dragging it: the table goes below the block you selected.
Choose the columns
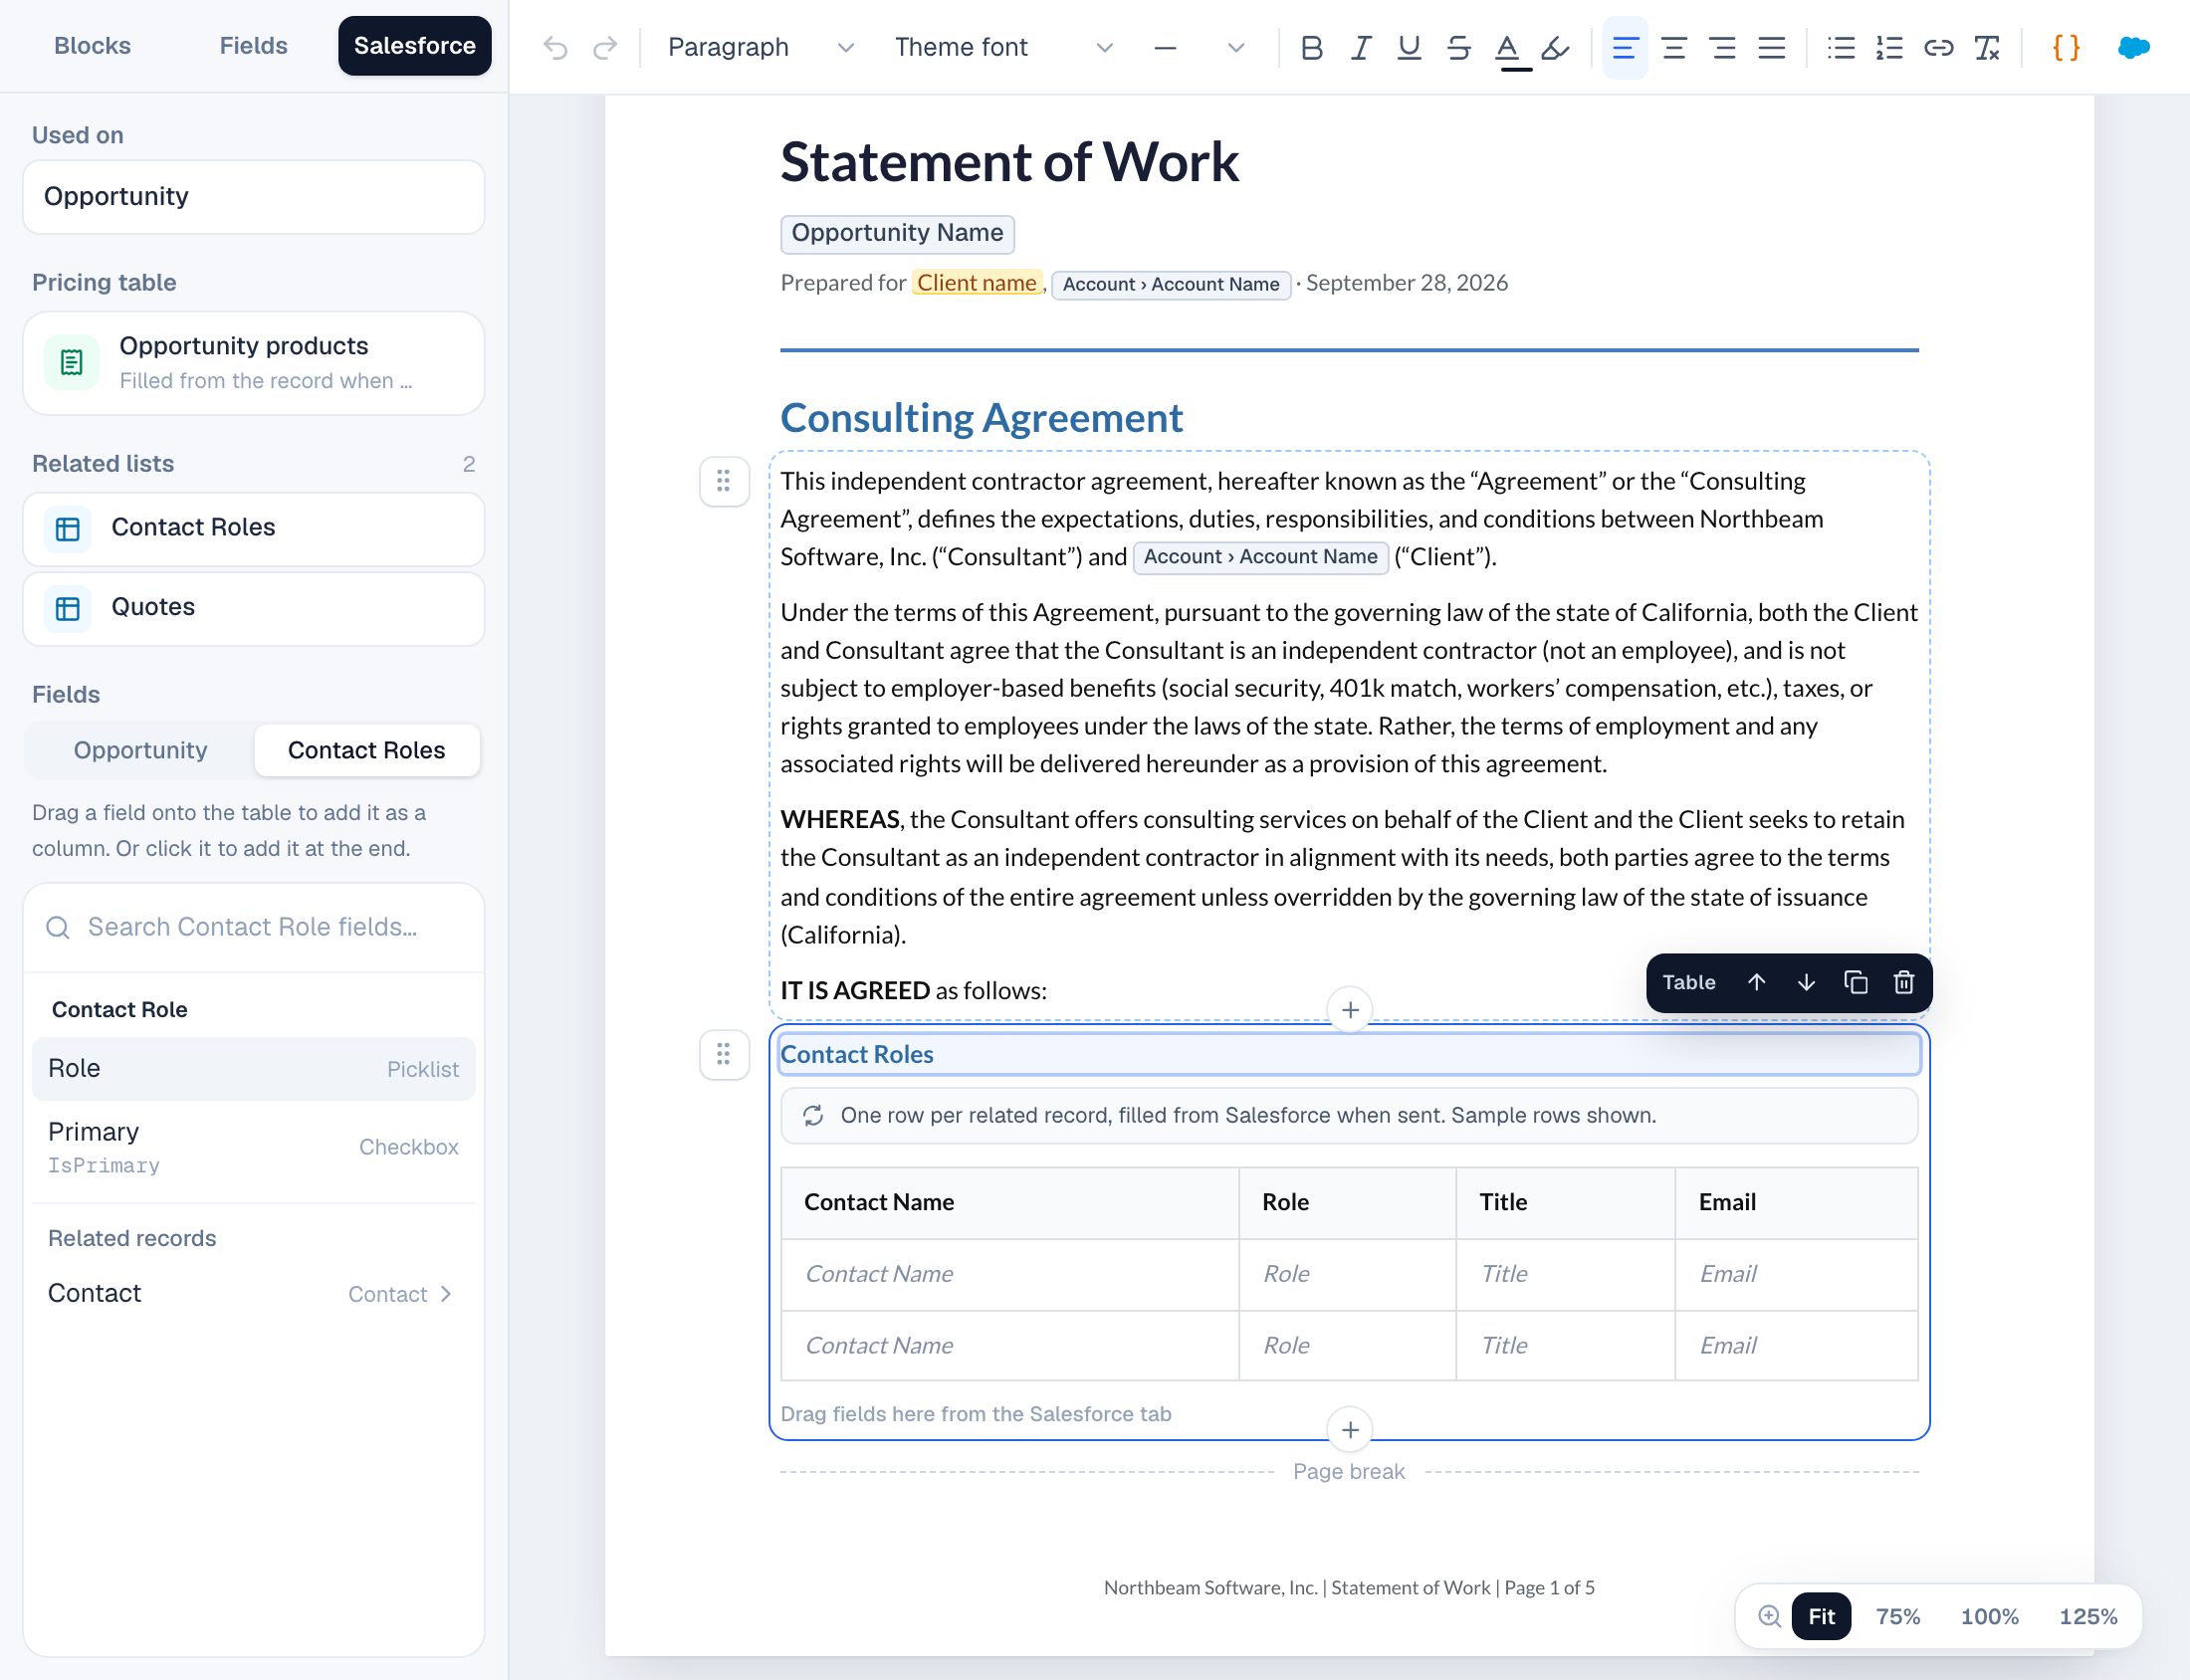
While the table is selected, Fields on the left switches to the related list's fields, for example Contact Roles. Switch back to the record's own fields with the tab next to it.
- Select the table.
- In Fields, find the field. For a field on a related record, like the contact's phone, open the record under Related records (for example Contact).
- Drag the field onto the table. A blue line shows where the column goes. Or click the field to add it as the last column.
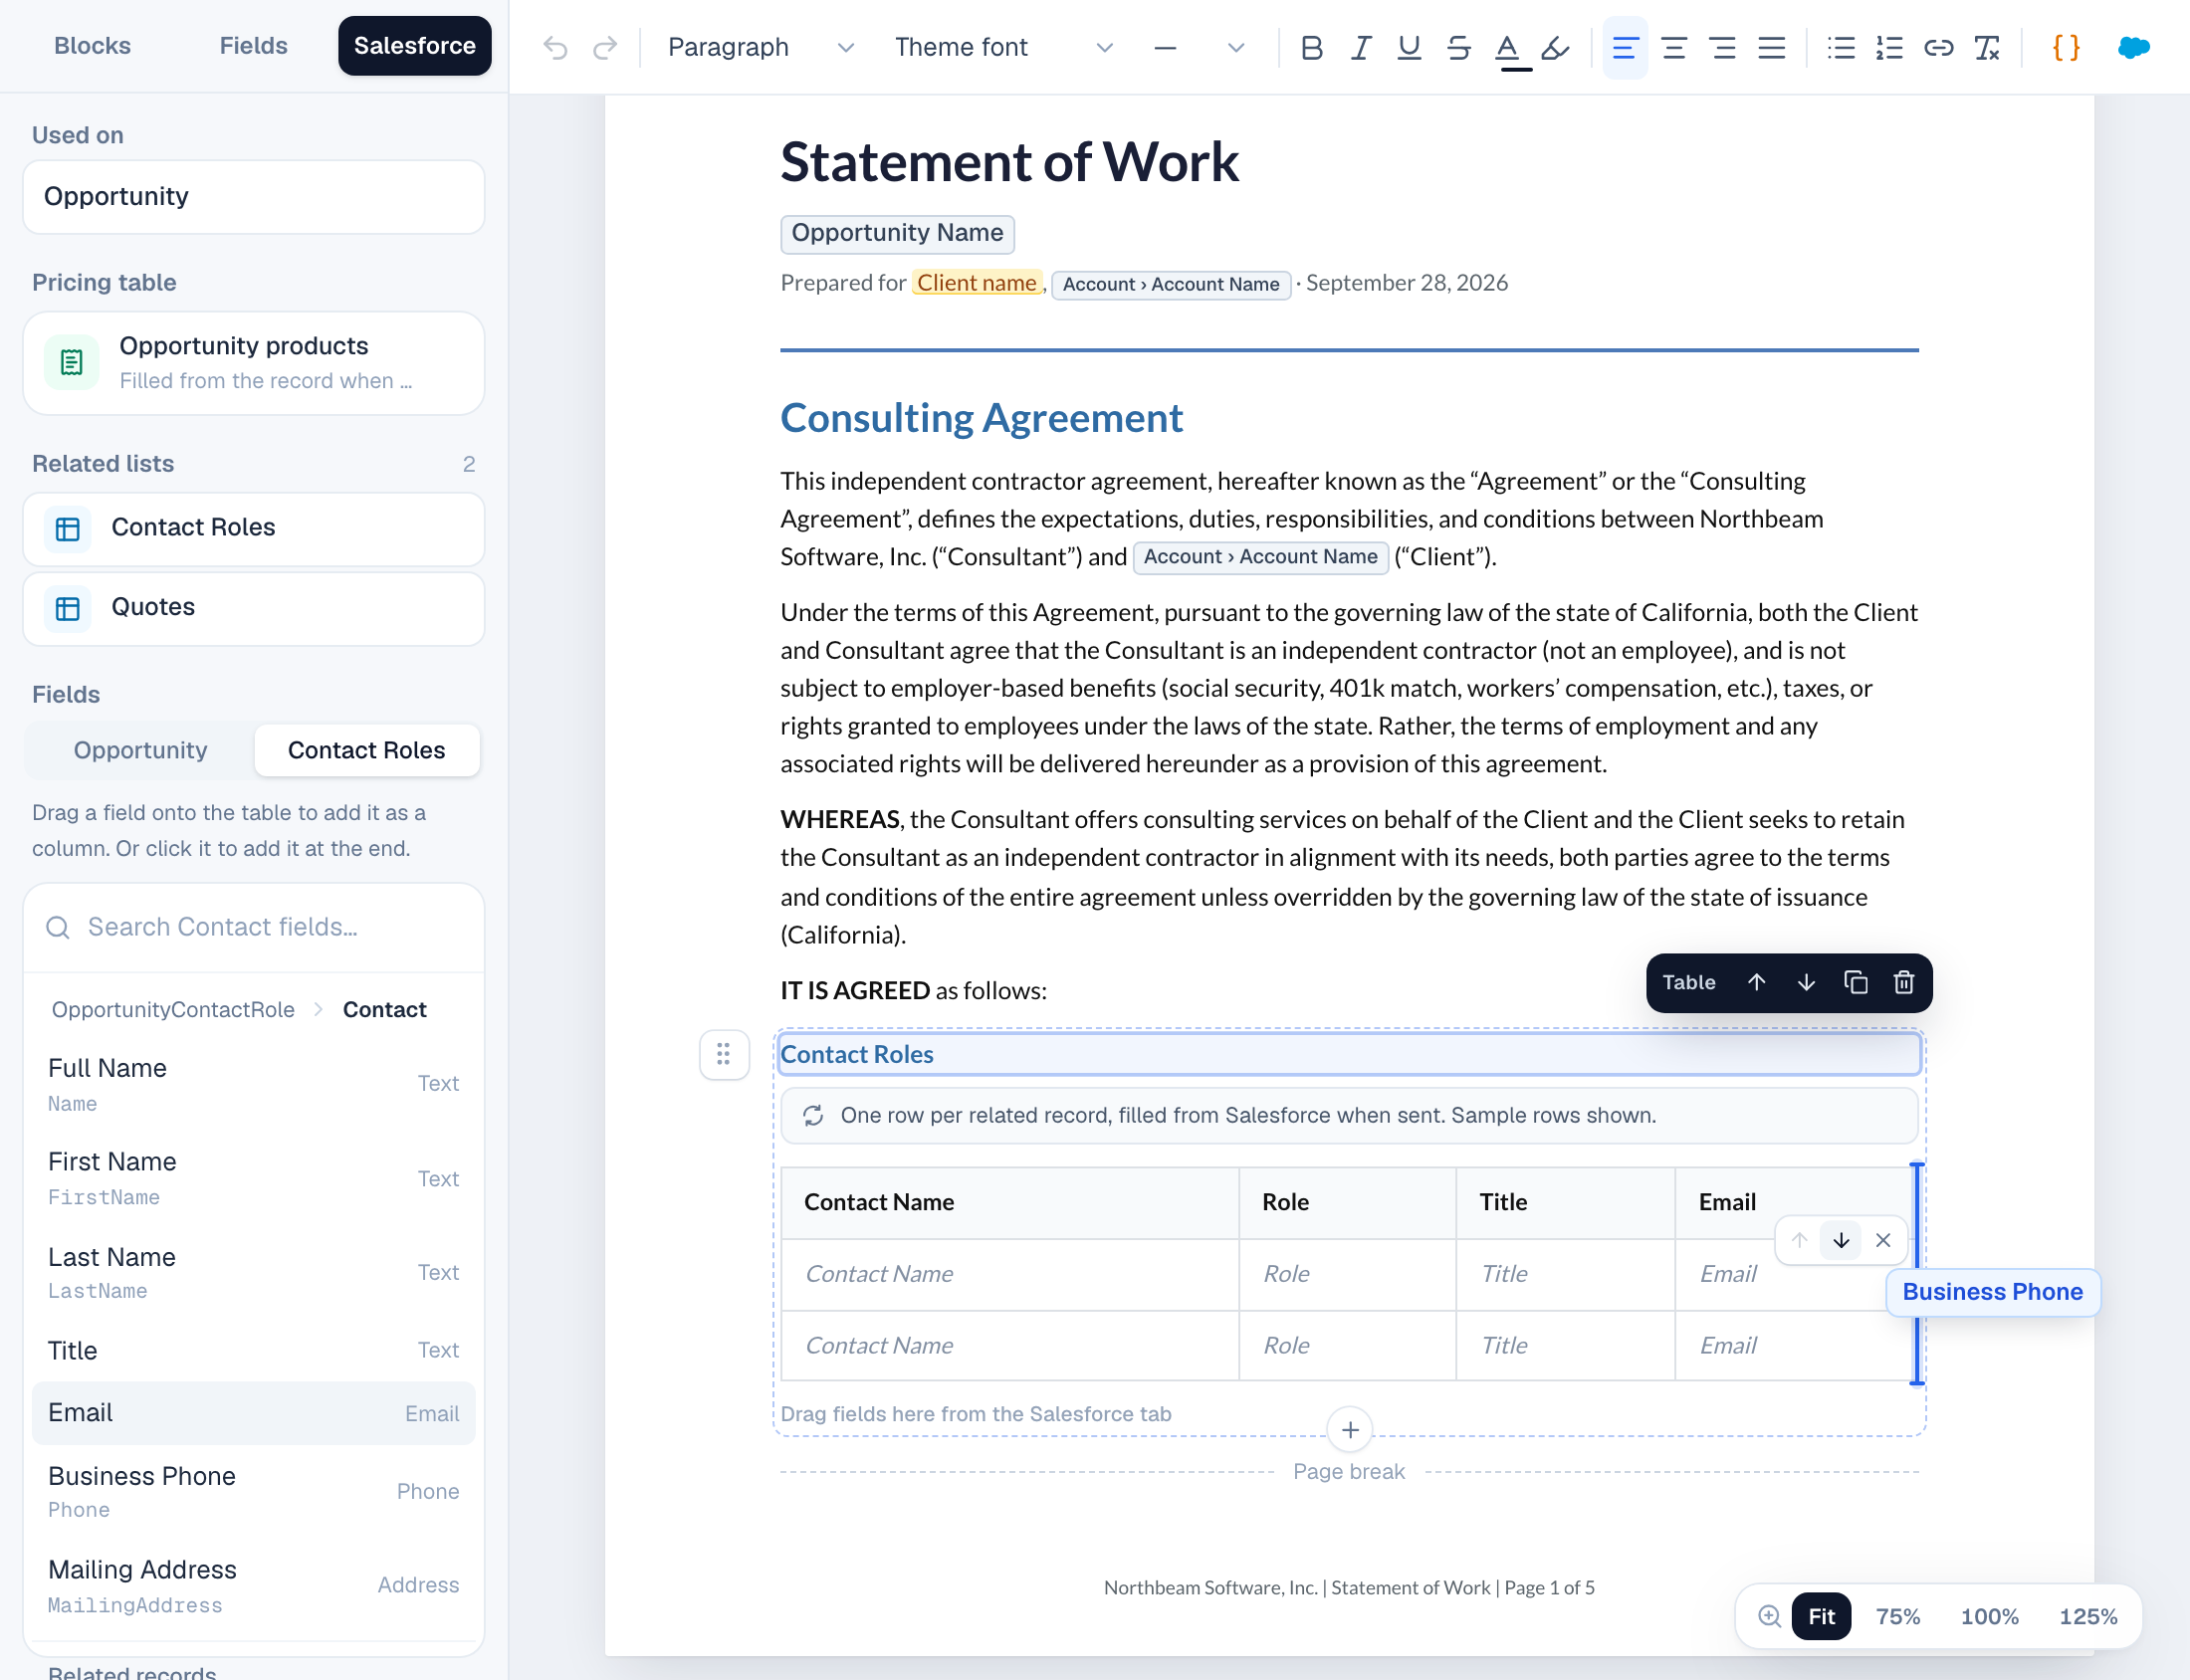
To move or remove a column, hover its header and use the arrows or ×. To rename a header, select the table and change it under Columns in the Block tab, where you can also move and remove columns.
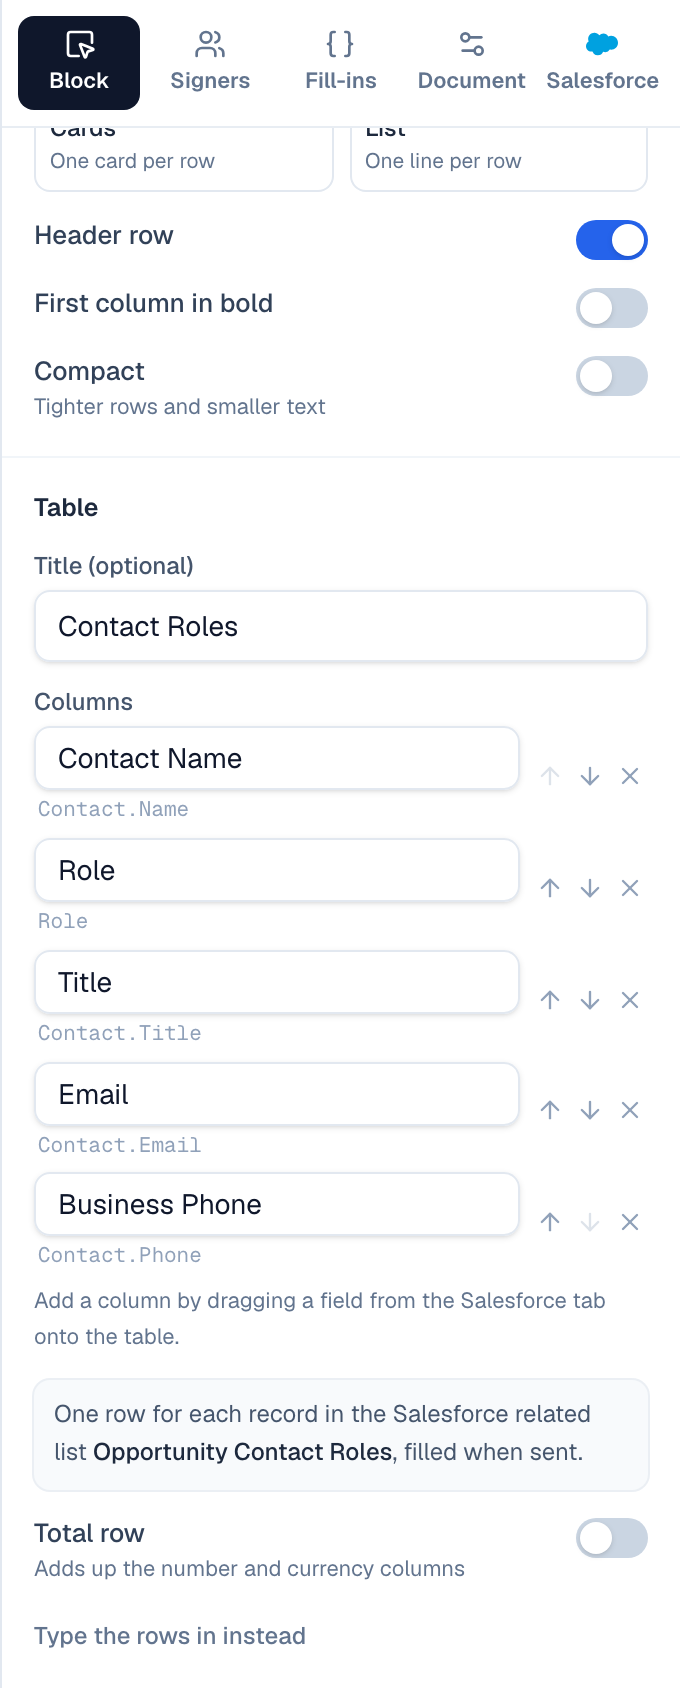
To add up amounts, turn on Total row in the Block tab. Number and currency columns get a total.
Pick how it looks
- Select the table and open the Block tab.
- Under Design, pick Document style, Lines, Striped, Grid, Cards or List.
- Pick a Color, or leave Theme to use the document's.
- Turn Header row, First column in bold and Compact on or off.
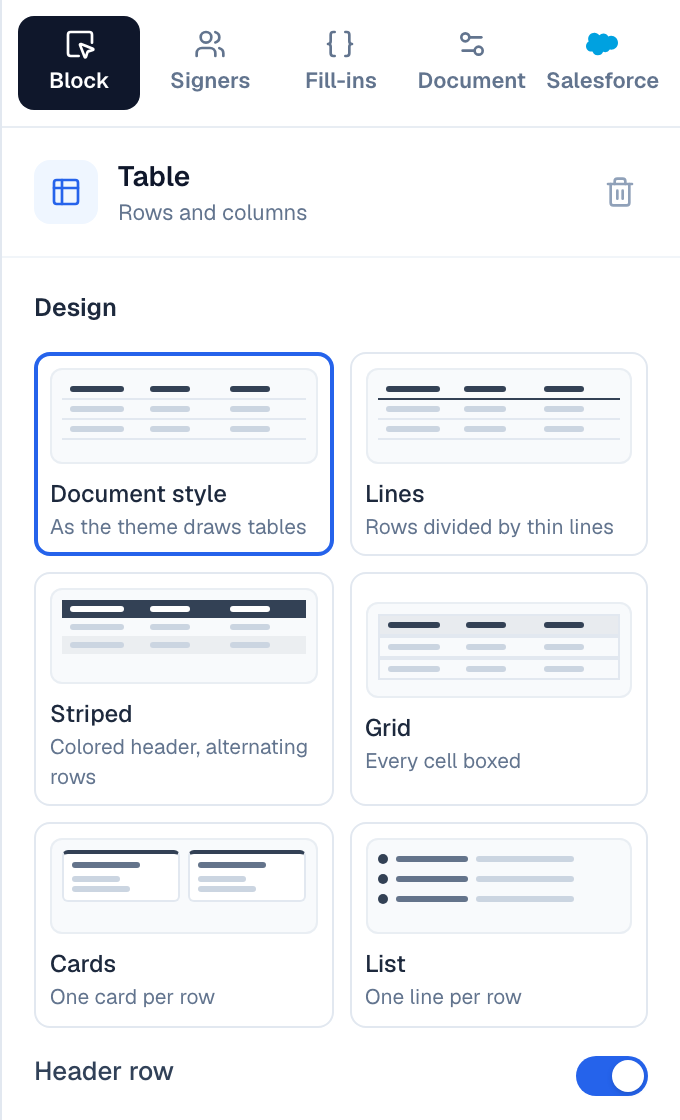
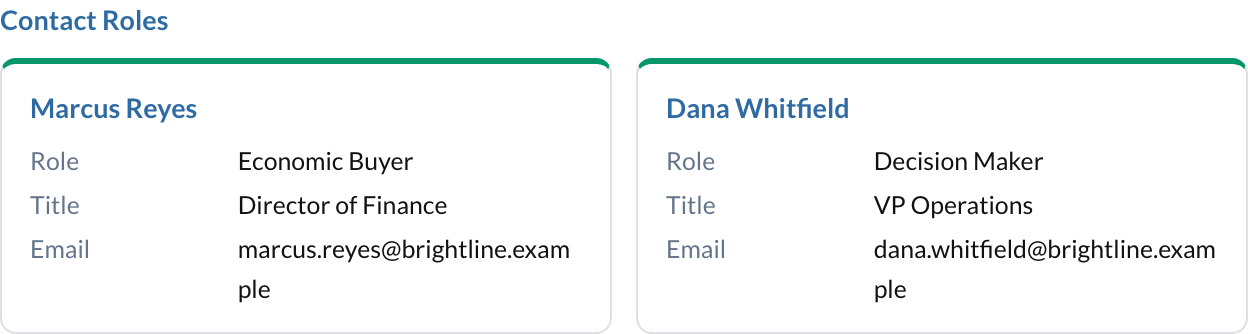
Cards suit people, for example contact roles: one card per row. List suits short lists.
See it with real rows
- Choose Preview as record at the top of the editor.
- Pick a record, for example an opportunity.
- The table fills with that record's related records. Choose Done to go back to sample rows.
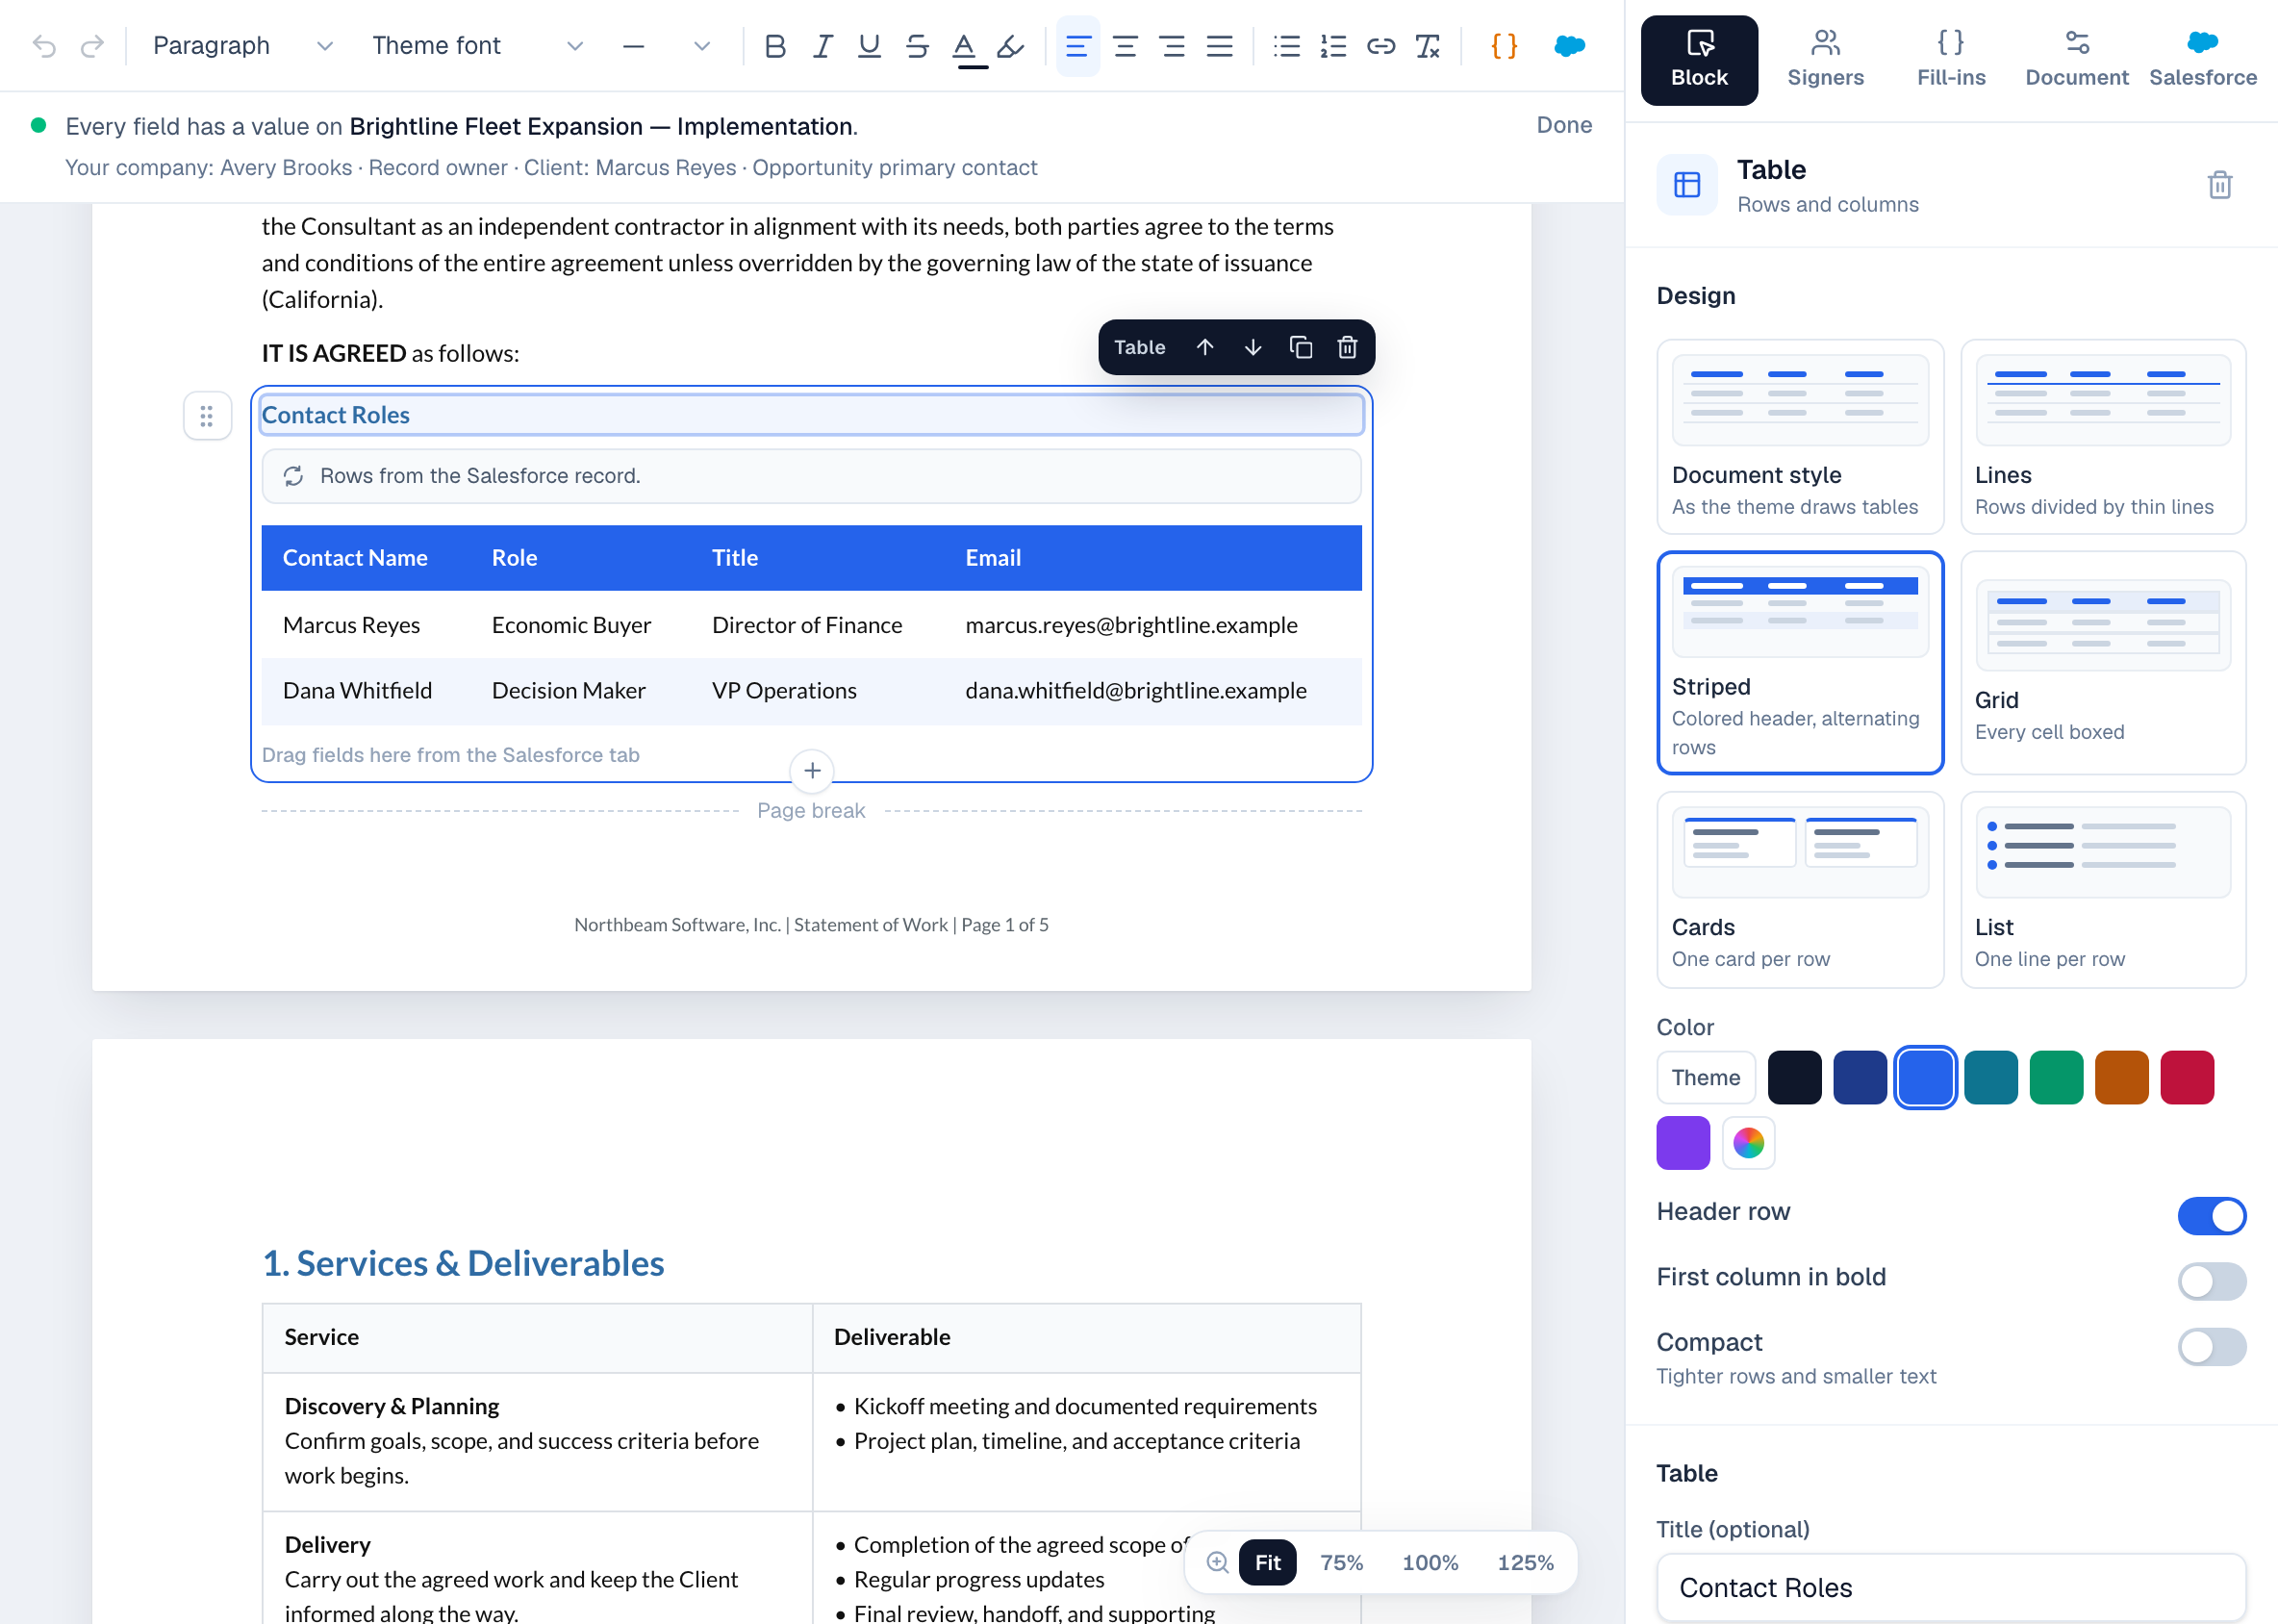
Rows come in the order of the related list on your page layout. A cell is empty when the field is blank on that record.
Pricing tables and related lists
For line items (quote lines, opportunity products, order products), use the Pricing table instead: it has quantities, prices, discounts and totals. A pricing table can also take its lines from a related list: see The pricing table.
If something's missing
| What you see | What to do |
|---|---|
| The list isn't under Related lists | Search for it or choose View all. Only lists of the object in Used for are shown. |
| A field isn't in Fields | Tally Sign reads Salesforce as the user who connected it, so it only sees fields that user can see. Give that user access to the field in Salesforce (field-level security), then reopen the editor. |
| The table has no rows in a document | The record had no related records, or the connected user can't see them. Check the related list on the record in Salesforce. |
| You want to type the rows yourself | Select the table and choose Type the rows in instead in the Block tab. |
On the website: Any object·Pricing